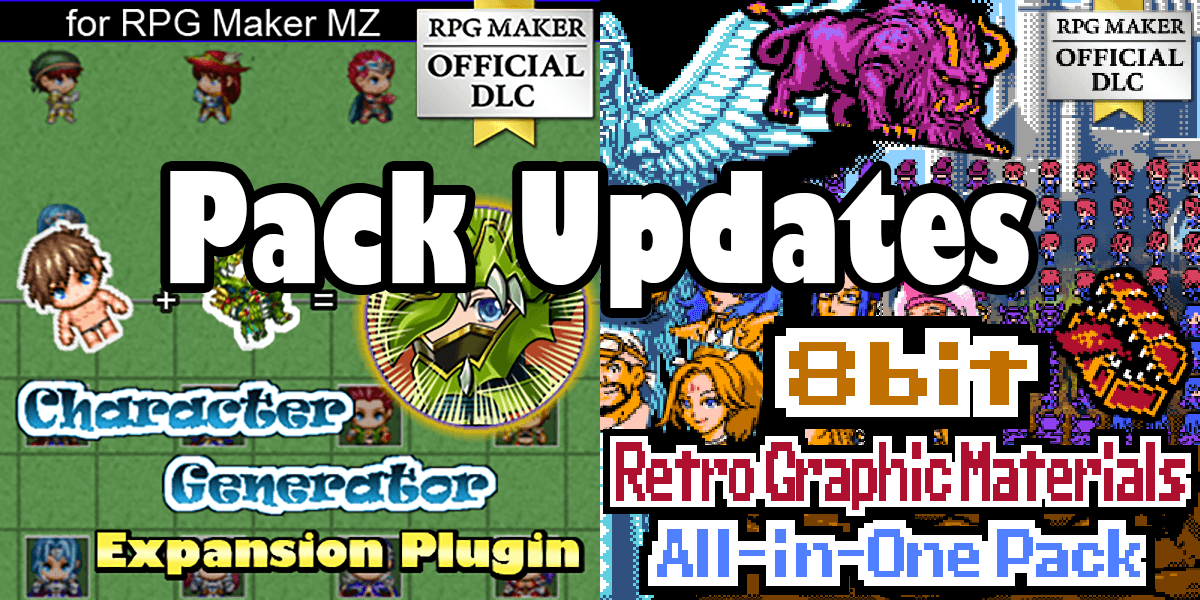
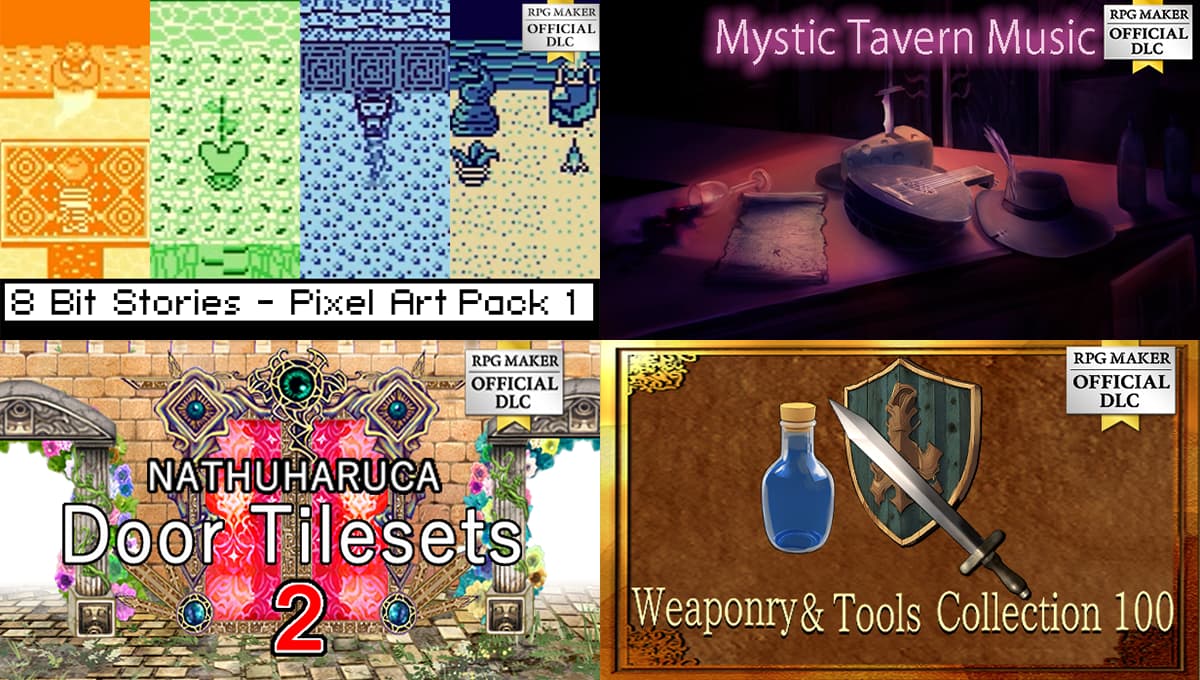
New plugin to automate diagonal sprites! New Music! New Graphics!

April 11, 2024
April 11, 2024
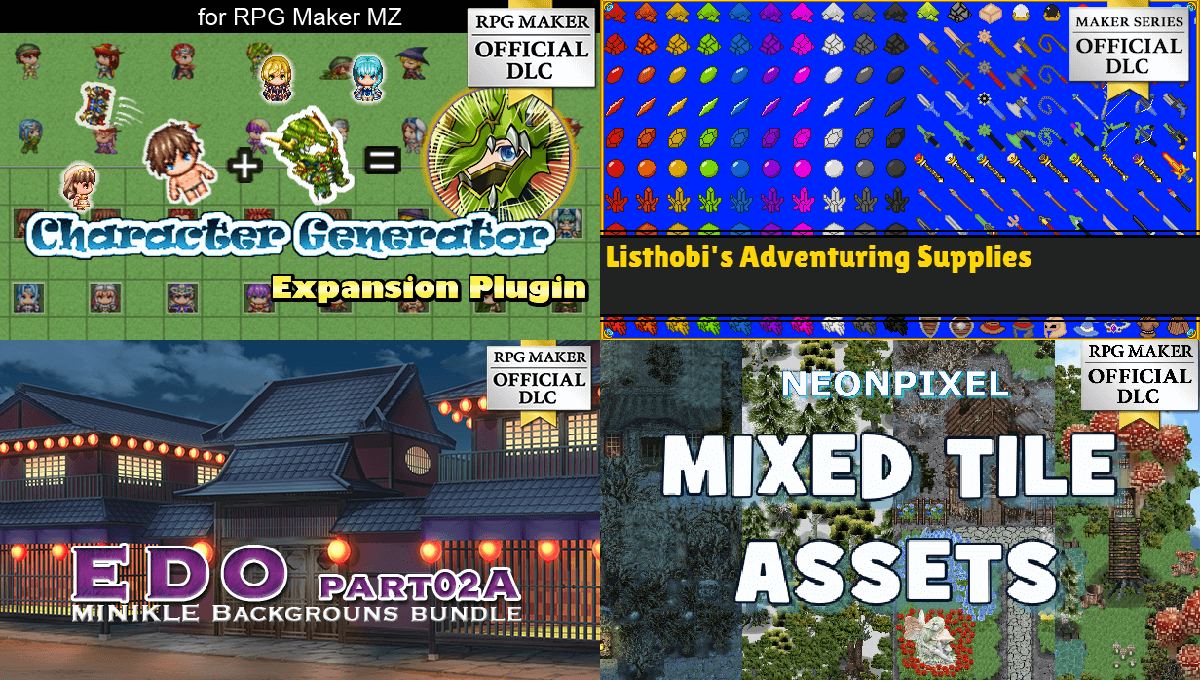
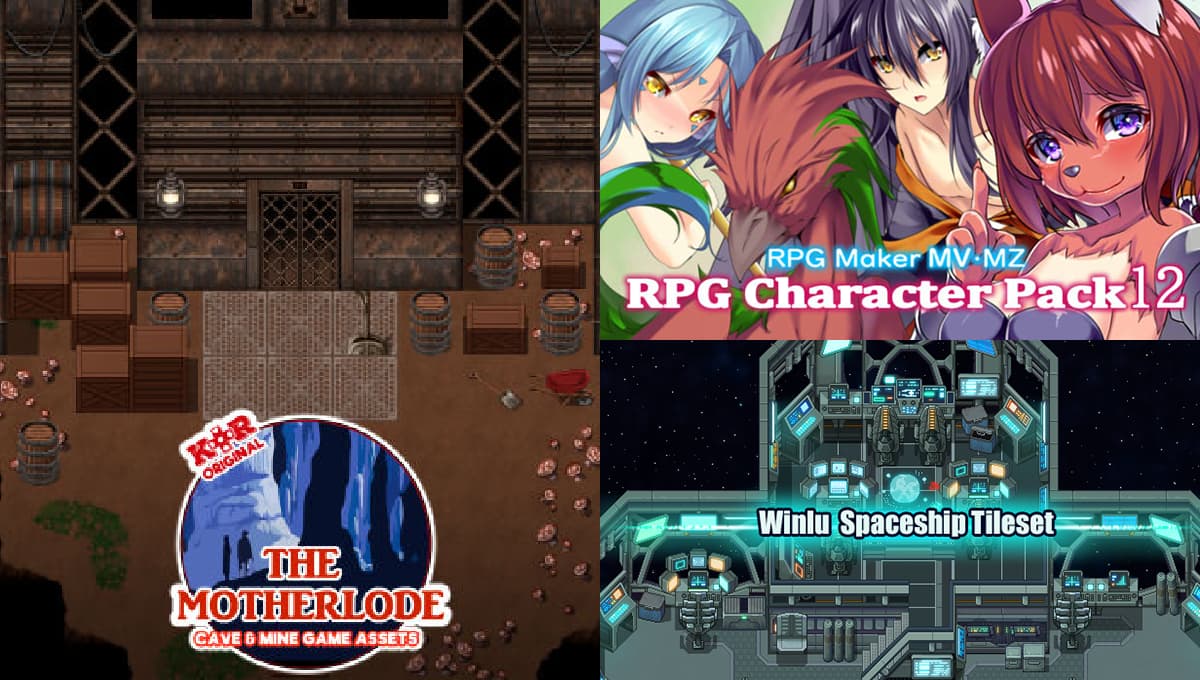
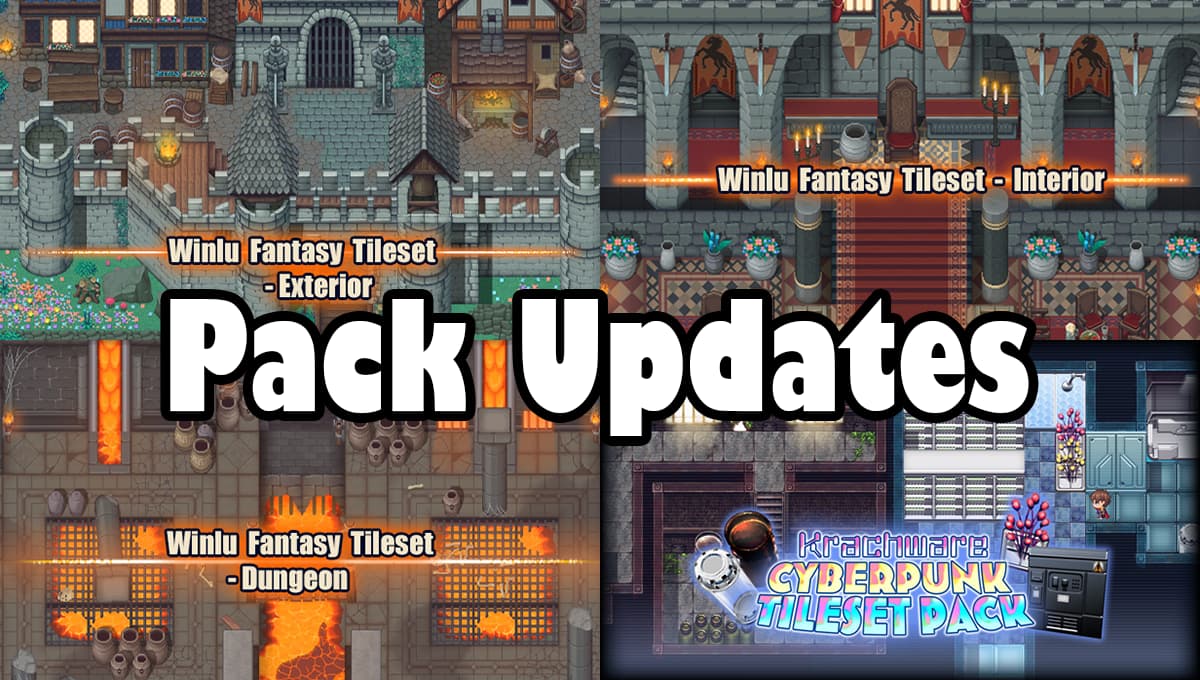
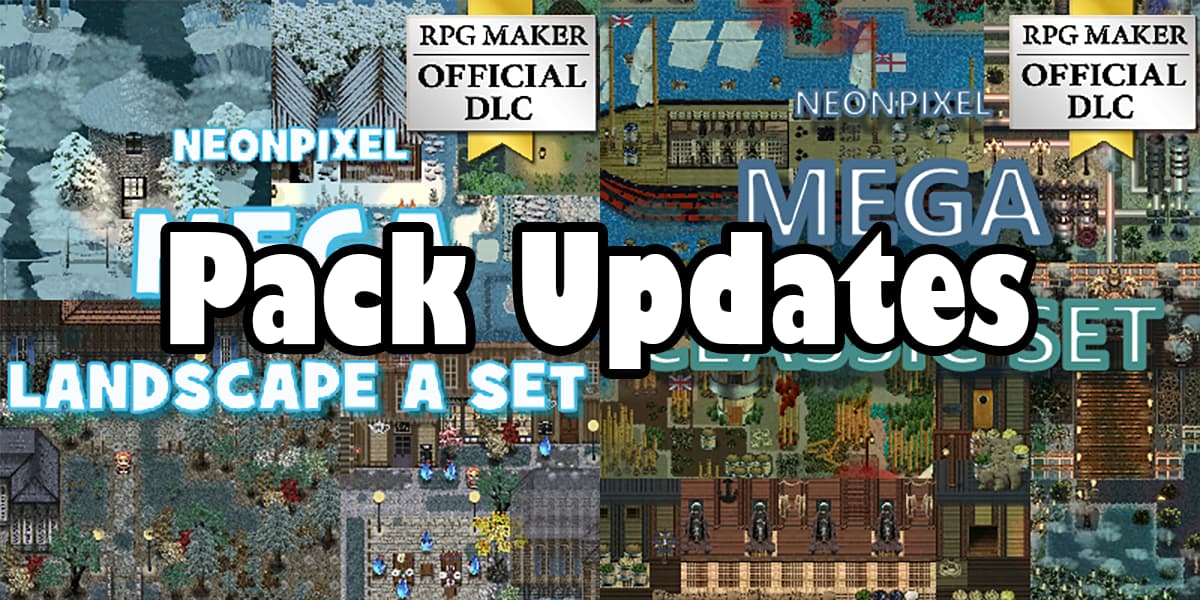
Five new packs to enhance your games!
March 14, 2024
March 14, 2024
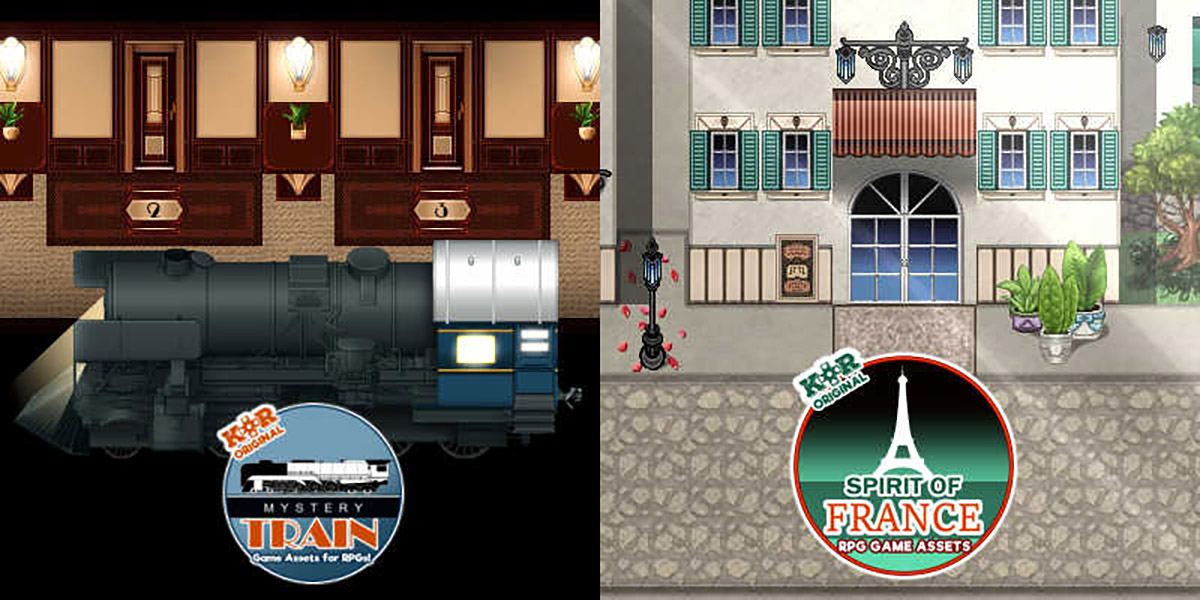
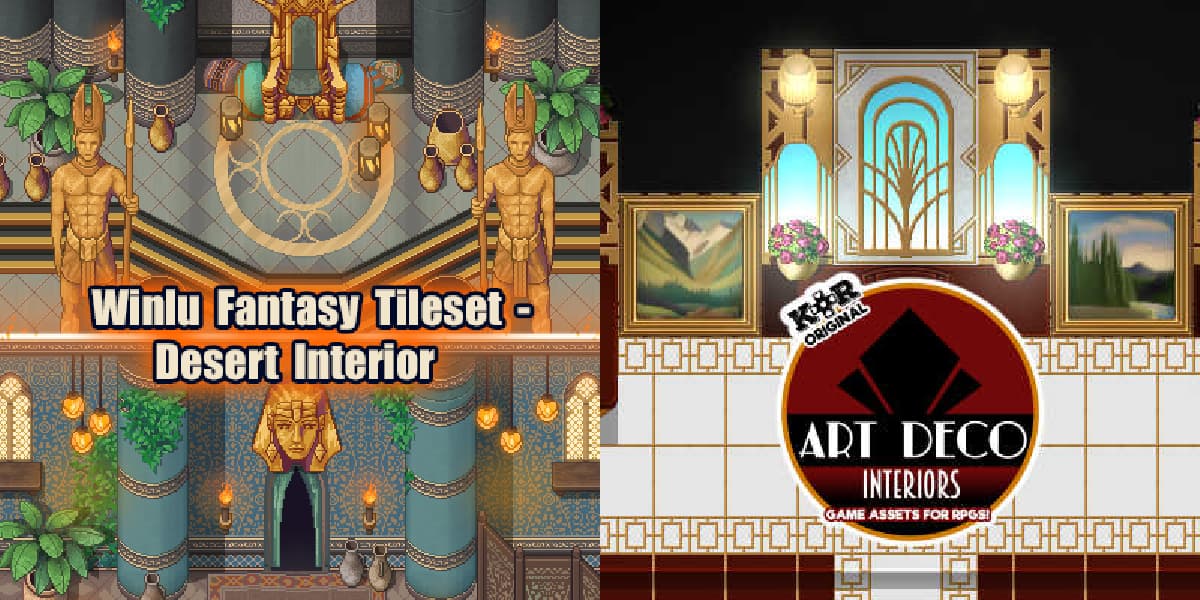
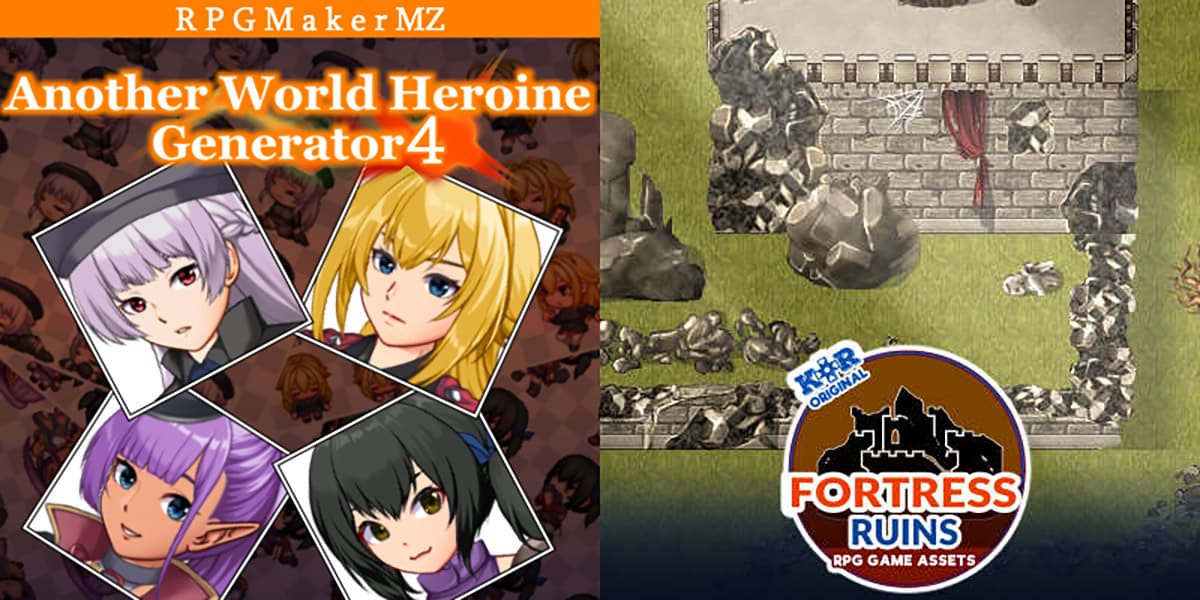
Two new tilesets from Kokoro Reflections!
February 29, 2024
February 29, 2024

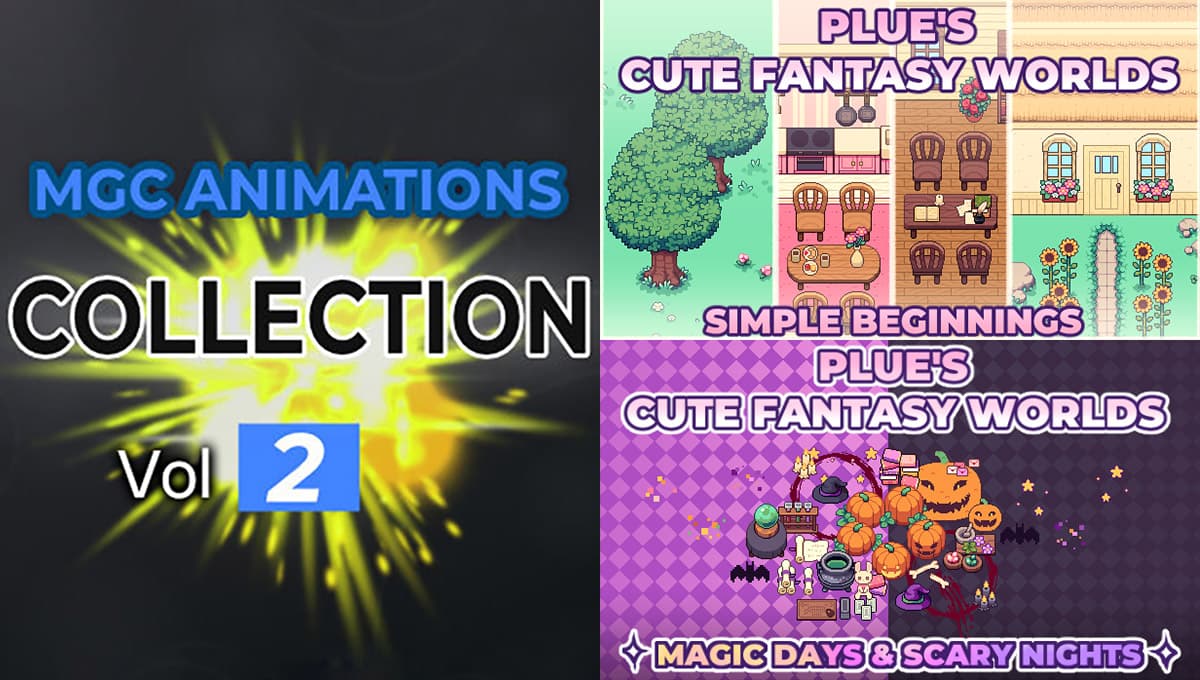
RPG Maker has been with us another year, and it is time for another celebration!

February 7, 2024
February 7, 2024